

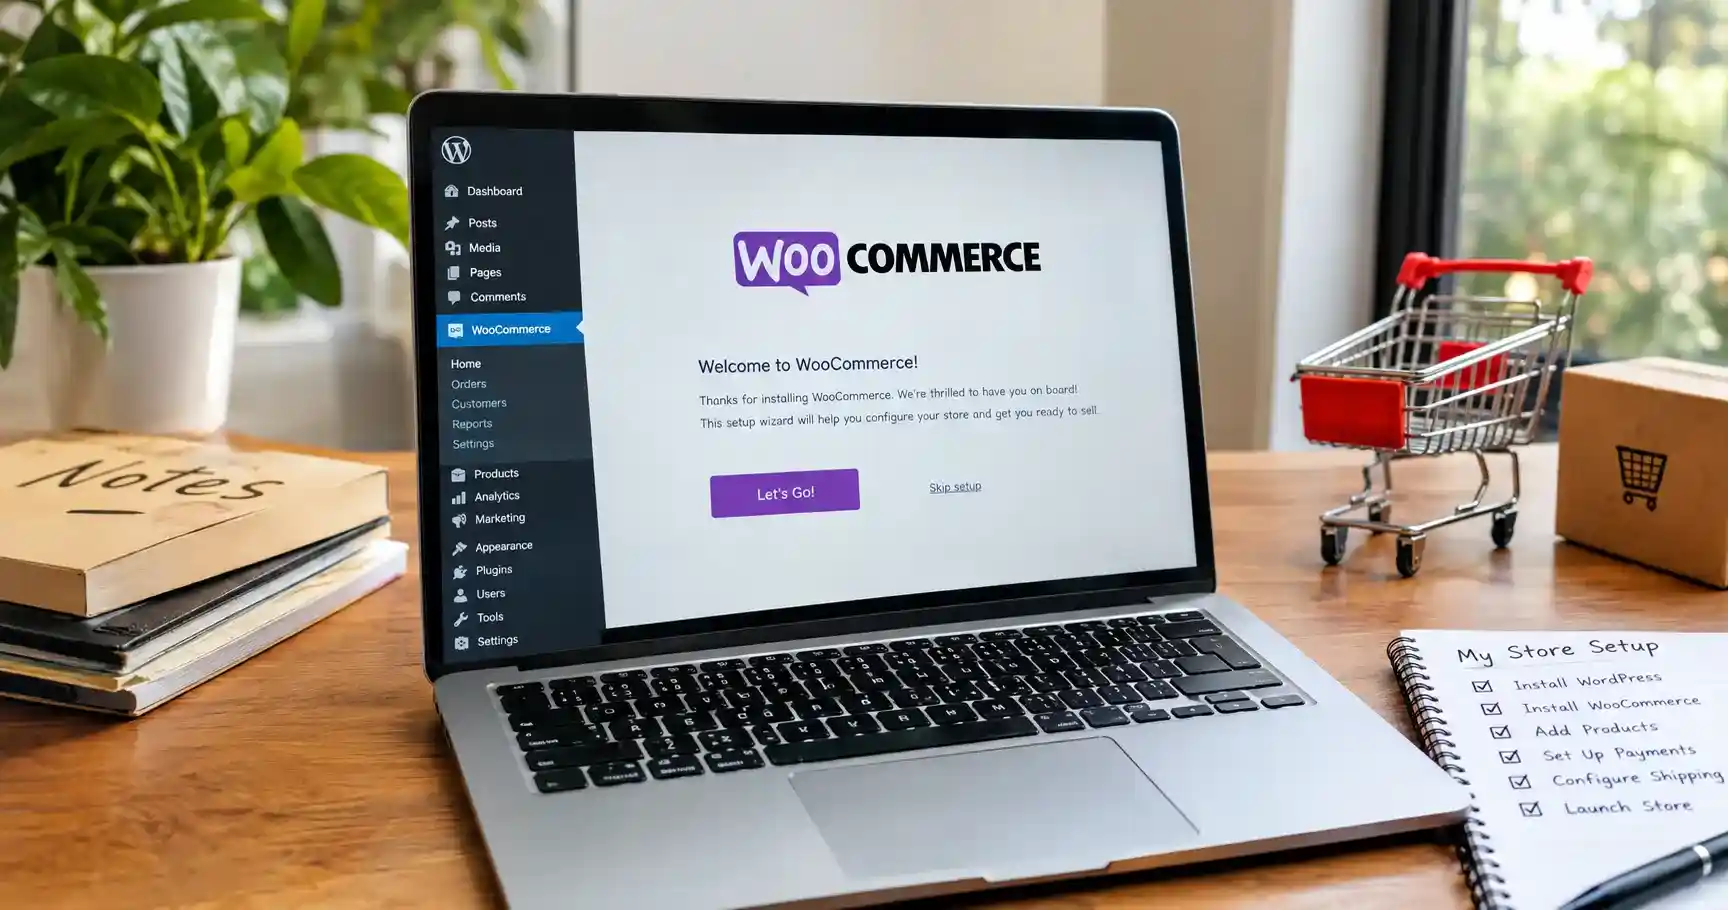
To start a WooCommerce store, install WordPress and WooCommerce, configure your store details, add products, set up payments and delivery, and test the complete purchase journey before launching. You can build a straightforward shop without writing code, but you still need to make decisions about costs, fulfillment and ongoing maintenance.
In this WooCommerce tutorial for beginners, I explain those decisions alongside the setup steps. My aim is to help you reach a useful milestone: a customer can find the right product, pay successfully and receive the correct order confirmation.
I would begin with a small catalog and a simple design. It is easier to improve a working store than to troubleshoot dozens of extensions before your first sale.
This guide follows a fictional stationery shop selling notebooks, color variations and a downloadable planner. The examples are for learning, not claims about a client project. Menu wording may vary with your WooCommerce version, theme and installed extensions.
What is WooCommerce and how does it work
WooCommerce is an open-source ecommerce plugin for WordPress. WordPress manages your website, while WooCommerce adds product listings, a shopping cart, checkout and order management. Your theme controls presentation; extensions add capabilities such as payment integrations or specialized delivery rules.
Here is how the parts work together during a typical purchase:
1. A customer chooses a product or variation and adds it to the cart.
2. WooCommerce calculates the order using your configured prices, shipping and tax rules.
3. A payment integration handles the selected payment method and reports its result.
4. WooCommerce records the order and updates its status and inventory as appropriate.
5. You or your fulfillment service prepare the order, and the store sends relevant notifications.
The payment provider’s payout to your bank is a separate process from the customer completing checkout. A store can record an order before payment is confirmed, so an order number alone is not proof that you have been paid.
If WordPress itself is unfamiliar, my WordPress guides provide useful background before you work through this WordPress ecommerce tutorial.
What you need before starting
Prepare your store name, business contact details, initial products, photographs, prices, delivery destinations and returns approach. Decide who will answer customer questions and dispatch orders.
You also need a domain name, suitable hosting, HTTPS and access to a payment provider that supports your business. This tutorial primarily follows WordPress installed on your chosen hosting. If you use WordPress.com, check the current plan’s WooCommerce and plugin support before buying.
Is WooCommerce free
The core plugin is free, but operating a store has other costs. Build your budget around the whole store rather than the plugin price.
| Cost area | What to check before committing |
|---|---|
| Domain and hosting | Renewal prices, resource limits, support, backups and staging |
| HTTPS certificate | Whether your host includes installation and renewal |
| Theme and extensions | Which features you actually need and their renewal charges |
| Payments | Transaction, currency-conversion, dispute and refund-related fees where applicable |
| Operations | Packaging, delivery, email service, maintenance and support time |
There is no single reliable price for every WooCommerce store. A small catalog with basic delivery rules has different requirements from a subscription business or a shop with multiple warehouses. I would write down essential features first and request costs for that specific scope.
Step 1: Choose hosting and install WordPress
Ask the host whether its plan supports the current WooCommerce server recommendations. Also ask how backups are restored, whether staging is included and who helps if checkout stops working.
As of WooCommerce’s requirements page (last modified 25 May 2026, covering WooCommerce 10.8 and later), the plugin expects PHP 8.3 or newer, MySQL 8.0 or newer or MariaDB 10.6 or newer, WordPress 6.9 or newer, a PHP memory limit of 256 MB or more, and a host that supports HTTPS. Older versions may still run but have reached end of life. Requirements change, so check the page itself before you buy hosting.
A staging site is a separate copy used for testing. It is particularly useful when changing an existing website or trying payment integrations. A managed hosting label does not automatically mean every store task is handled for you; confirm what the service includes.
Use the host’s WordPress installer, connect your domain and enable HTTPS. Create an administrator account with a strong password. Confirm that your public site and dashboard load over HTTPS without certificate warnings.
If you already have a website, take a recoverable backup and add WooCommerce on staging first. For a new store, prepare it away from public shoppers until the launch checks pass.
Checkpoint: You can sign in to WordPress, load the site securely and identify how to restore it if a change fails.
Step 2: Install WooCommerce and complete onboarding
In your WordPress dashboard:
1. Open Plugins → Add New Plugin.
2. Search for WooCommerce and select the official plugin.
3. Click Install Now, then Activate.
4. Start the guided store setup and enter your store details.
5. Review optional features before accepting them.
WooCommerce’s installation guide explains the installation route. If hosting already installed the plugin, check that it is active rather than installing a second copy.
The WooCommerce setup wizard leads into a checklist for products, payments, design, tax, shipping where relevant and launch. The setup asks whether you are starting a business, already selling or building a store for a client, then asks for your store name, products, location and email. It also offers recommended free features such as payments, shipping, tax and marketing tools, which you can keep, clear or skip. The checklist that follows runs through adding products, setting up payments, customizing the store, collecting sales tax, choosing shipping options (shown only when WooCommerce needs those details) and launching. Optional recommendations can be skipped and revisited. You do not need to install every suggested marketing or analytics extension to begin selling.
Checkpoint: WooCommerce appears in the dashboard, and you can open WooCommerce → Settings.
Step 3: Confirm your basic store settings
Open WooCommerce → Settings → General. Review your store address, selling locations, shipping locations and currency. Then check the product settings for the units used to enter weights and dimensions.
For the example stationery shop, I would initially choose only the destinations it can reliably serve. Offering worldwide checkout before confirming delivery coverage creates work that a beginner does not need.
Decide how you will manage stock. Entering a quantity is useful only if someone keeps it consistent with actual inventory, including sales through other channels. Choose whether backorders are allowed deliberately; do not enable them just to make an unavailable product purchasable.
WooCommerce’s settings reference explains where these controls live. Keep a short record of important choices so another person can understand the setup later.
Checkpoint: The store displays the intended currency, uses consistent measurements and accepts only the locations you plan to serve.
Step 4: Choose a theme and prepare navigation
A theme determines the starting layout of your shop. Choose one that supports WooCommerce, receives maintenance and provides a mobile experience you can comfortably manage.
Install your chosen theme through Appearance → Themes. With a block theme, use Appearance → Editor to work on supported templates and site elements. Classic themes may use the Customizer, theme settings or other editing controls.
A paid page builder is optional. WooCommerce documents product-page customization with block themes, so you do not have to buy a separate builder simply to change a supported product template.
Start with readable text, clear product images and straightforward navigation. Add links to Shop, Contact and the information customers need about delivery and returns. Check that the cart is easy to find on mobile.
Checkpoint: A first-time visitor can reach a product and understand how to contact the business without hunting through the site.
Step 5: Check the essential WooCommerce pages
Open Pages → All Pages and confirm that your core store pages exist. WooCommerce’s page documentation describes the defaults and assignments.
| Page | Purpose | Setup location |
|---|---|---|
| Shop | Main product catalog | WooCommerce → Settings → Products |
| Cart | Selected items and totals | WooCommerce → Settings → Advanced |
| Checkout | Customer details and payment | WooCommerce → Settings → Advanced |
| My Account | Customer login and order information | WooCommerce → Settings → Advanced |
Current default Cart and Checkout pages use their respective WooCommerce blocks. My Account uses the [woocommerce_my_account] shortcode. Older stores may use classic cart and checkout shortcodes; do not mix implementations on the same page without a clear reason.
Use separate Cart, Checkout and My Account pages. If defaults are missing, WooCommerce → Status → Tools includes a Create pages action. This creates missing default pages; it does not recover a deleted custom design or change your existing page assignments. Assign Cart, Checkout, My Account and Terms and Conditions under WooCommerce → Settings → Advanced → Page setup. WooCommerce also creates an unpublished Refund and Returns Policy draft, which you must review and rewrite for your own business before publishing.
If the pages still do not appear correctly, follow my guide to restoring missing WooCommerce pages.
Checkpoint: Each assigned page opens correctly. Test Cart and Checkout with an item in the cart.
Step 6: Add your first simple product
Core WooCommerce offers four product types: Simple, Grouped (a set of existing products shown together), External/Affiliate (sold on another site through a link) and Variable. A simple product is a single item without selectable variations. Our example is a hardcover notebook sold in one size and one color.
1. Go to Products → Add New.
2. Enter a clear product name and description.
3. Select Simple product in Product data.
4. Enter its regular price and any genuine sale price.
5. Configure inventory, including an SKU and quantity if you track stock.
6. Enter relevant shipping measurements.
7. Add a product image, useful gallery images and a category.
8. Preview the page, then publish it when ready.
The official add-product instructions show the basic interface. Publish here means the product’s publishing status; Coming soon mode can still prevent public access to the shop.
I would describe the notebook’s dimensions, page count, paper type and intended use. Those details answer a buyer’s questions more effectively than calling it “the best notebook.” Include only specifications you can verify.
Checkpoint: The correct title, price, image and availability appear, and the item can be added to the cart.
Step 7: Add variations or downloadable products when needed
Products with choices
Use a Variable product when shoppers must choose an option with its own sellable combination, such as a navy or sand-colored notebook.
1. Select Variable product in the Product data dropdown.
2. Add an attribute such as Color with the values Navy and Sand.
3. Enable its use for variations where that option is shown, then save the attributes.
4. Open Variations and generate or manually add the combinations you sell.
5. Set each variation’s price, availability and any individual image or stock details.
6. Save changes and test each option on the product page.
An attribute describes a characteristic; a variation is a purchasable option. Merely adding “Navy” to an attribute does not finish the variation setup. WooCommerce’s variable-product guide also notes that variations without prices do not show in the store.
Digital downloads and services
For the planner PDF, use a suitable product type and mark it Downloadable. Add the file and review download limits and expiry. Mark it Virtual if it needs no physical delivery. These are separate settings: downloadable does not automatically mean virtual.
For a service that does not ship, the Virtual option can be appropriate. Booking calendars, recurring subscriptions and specialized membership access may require additional functionality. Check the product-management documentation before buying an extension.
Checkpoint: Every offered variation works, and a digital test purchase gives the intended download access without an unnecessary shipping charge.
Step 8: Set up shipping zones and methods
A shipping zone defines an area you serve. A shipping method is an option offered within it, such as Flat rate or Free shipping.
Go to WooCommerce → Settings → Shipping → Shipping zones. Add a zone, choose its geographic coverage, add a method and configure its conditions and cost. Arrange specific areas before broader ones: a customer matches the first applicable zone, not a combination of all matching zones. See the official shipping-zone guide.
Here is an illustrative configuration for a small Indian shop. These are example charges, not courier quotes or tax-inclusive recommendations.
| Zone order | Coverage | Example method |
|---|---|---|
| 1 | Specific local postcodes | Flat rate ₹40 |
| 2 | Remaining addresses in West Bengal | Flat rate ₹70 |
| 3 | Other supported Indian addresses | Flat rate ₹110 |
| Fallback | Unmatched locations | No shipping method offered |
The first zone needs the actual supported postcodes. Adding a flat rate does not book a courier, purchase a label or arrange collection. Plan fulfillment separately.
Test a real-format address in each zone and one outside your coverage. For unexpected results, use my WooCommerce shipping troubleshooting guide.
Checkpoint: Customers see the intended delivery options and charges for their address, including the intended outcome for unsupported destinations.
Step 9: Configure tax and customer policies
Determine your tax obligations before choosing settings. They depend on the business and its transactions; WooCommerce does not decide them for you. Ask a qualified adviser about the rules that apply to your store.
For the software configuration, WooCommerce documents how to enable and configure tax calculations. The usual starting point is WooCommerce → Settings → General → Enable tax rates and calculations. Save, then review the Tax tab or your selected automated service.
Check whether prices are entered inclusive or exclusive of tax, how prices display and which address drives calculations. Do not copy another store’s rates simply because it sells similar products. Test representative orders against independently confirmed expected totals.
Prepare customer-facing delivery, cancellation, returns, privacy and terms information for your actual business. Replace sample text; assigning a page is not the same as making its contents appropriate.
Checkpoint: You understand the displayed prices and can explain the order total, delivery terms and return process to a customer.
Step 10: Connect a suitable payment method
Open WooCommerce → Settings → Payments. Choose a provider that supports your business location, currency and customer payment preferences. Confirm fees, settlement arrangements and compatibility with your checkout implementation before connecting it.
Follow that provider’s account verification and connection instructions. Some stores can use WooPayments; others will use a different supported integration. Availability is country-dependent, so there is no single gateway every beginner should install.
Bank transfer or cash on delivery may suit some businesses, but they do not verify that an online card payment works. Likewise, receiving an order marked On hold is not confirmation that a bank transfer arrived.
Use your provider’s test mode on staging. For example, WooPayments has its own testing instructions, including test transactions and where to inspect them. Use the chosen provider’s published test details, not real card details in a simulated checkout.
Checkpoint: The intended payment methods appear for an eligible customer, and you know where to verify the transaction independently of the storefront.
Step 11: Configure customer accounts and order emails
Review WooCommerce → Settings → Accounts & Privacy. Decide whether to allow guest checkout and when customers can create accounts. Choose the workflow that fits the products and customer support you provide.
Next, open WooCommerce → Settings → Emails. Review sender information, the recipient of store notifications and the customer emails relevant to your order flow. The official email settings guide explains the available controls.
Use a sender identity associated with your business. Ask your email provider or host to configure authenticated delivery where needed. A template preview shows appearance; it does not establish that an email reaches an inbox.
Test the customer and administrator notifications with addresses you control. Also check password-reset delivery if accounts are enabled. Keep order communication separate from optional promotional subscriptions.
Checkpoint: You can receive an order notification, and a customer can receive the relevant confirmation and account messages.
Step 12: Test the complete buying journey
I would treat this as the most important part of the WooCommerce setup tutorial. A store is not ready merely because its pages look finished.
WooCommerce recommends testing orders on staging. Test records can trigger emails, affect analytics and reach connected systems. Use test customer data, control fulfillment integrations and prevent practice orders from being shipped.
Start with a simple product, then repeat with a variation or download if you sell one. Check both a mobile screen and a desktop browser. If Coming soon mode is active, use authorized preview access for testing; verify ordinary visitor access again after launch.
| Test | What should happen |
|---|---|
| Add and change items | Correct products, quantities and totals remain in the cart |
| Change shipping address | The expected zone and delivery options apply |
| Use an offered discount | Eligible items receive the intended reduction |
| Complete a sandbox payment | Confirmation and matching order and gateway records appear |
| Simulate a failed payment | The failure is understandable and no false success is shown |
| Buy the last available unit | Inventory behaviour matches the configured stock rules |
| Check notifications | Intended customer and store messages arrive |
| Purchase a download | The correct customer receives the intended file access |
Record the starting stock, expected totals and actual result. This gives you something concrete to compare when a check fails.
If the browser freezes after payment submission, inspect the order and gateway records before trying again. My guide to WooCommerce checkout stuck loading explains how to investigate the failure.
Checkpoint: The purchase works beyond the screen—the order, payment result, stock and notifications agree.
Step 13: Prepare search visibility and performance
Give each product an accurate, descriptive title. Write useful descriptions, organize products into understandable categories and make product pages reachable through navigation. Explain material, dimensions, compatibility or other details a buyer needs.
Add descriptive alternative text to informative images and use appropriately sized files. Keep prices and stock information consistent across the page and any product data you submit elsewhere.
Google’s ecommerce documentation explains product structured data and Merchant Center feeds. Check the output your store and SEO tools already generate before adding another schema plugin. Structured data should reflect visible, accurate information; it is not a reason to invent ratings.
For Google AI Overviews and AI Mode, Google says established SEO practices remain relevant. There is no special AI markup requirement for those features. Make your information clear, accessible and supported, while recognizing that indexing or citations are not guaranteed.
For speed, check actual product and checkout pages. Follow WooCommerce’s caching guidance so customer-specific Cart, Checkout and My Account content is not served from inappropriate shared page caches. My WooCommerce cache-exclusion guide covers this in more detail.
Checkpoint: Products are easy to navigate, product information is consistent, and performance changes have not broken the purchase flow.
Step 14: Launch and learn daily order management
Before opening the store, confirm that live payment credentials are connected and test mode is off in the production configuration. Complete any outstanding provider verification. Keep test orders out of fulfillment and reporting.
Go to WooCommerce → Settings → Site visibility and select Live when ready. For a new store that completed onboarding, Coming soon is the default, so a new store will not be public until you change this; existing stores default to Live. Coming soon mode controls visitor access separately from payment mode. Also review WordPress → Settings → Reading and remove the search-engine discouragement setting if you used it during development. That setting is not a secure way to hide a staging site.
Check the store in a fresh logged-out browser without a preview link. Verify that there is no hosting-level maintenance screen or access restriction left in place. After launch, monitor the first genuine orders closely and reconcile them with the payment provider.
Understand the main order statuses
Open WooCommerce → Orders to review purchases. The official order-status reference explains these common states:
| Status | What it generally means |
|---|---|
| Pending payment | An order exists, but payment is still outstanding |
| On hold | Payment confirmation or another required check is pending |
| Processing | Usually paid and awaiting fulfillment; follow the gateway workflow |
| Completed | Fulfilment is finished |
| Failed | Payment failed or was declined |
| Cancelled | The order was cancelled; inspect whether a refund is needed |
| Refunded | Fully marked as refunded; a manual refund may not have returned funds |
Check order notes and the provider’s records when something is unclear. Do not mark an order Completed merely because you want the payment to succeed. For cash on delivery and other offline methods, follow the actual collection process.
Checkpoint: Visitors can shop publicly, and you know who checks payments, fulfils orders, and handles customer questions.
WooCommerce store setup checklist
Before you announce the store, work through this final checklist:
- Domain and HTTPS work, and a restore process is available.
- Business contact details and support responsibilities are clear.
- Product prices, images, variations and inventory have been reviewed.
- Shop, Cart, Checkout and My Account are assigned correctly.
- Supported and unsupported delivery addresses have been tested.
- Tax configuration matches the approach confirmed for the business.
- Live payment setup and verification are complete.
- Customer and administrator emails reach the intended inboxes.
- Relevant policies are published and easy to find.
- Mobile and desktop purchase checks pass.
- Test records cannot trigger real fulfillment.
- Coming soon mode and other launch restrictions are removed as intended.
- Search visibility settings and product information have been checked.
If a critical payment, delivery or order-confirmation check fails, fix it before sending paid traffic to the store.
Common beginner problems and where to start
| Problem | First useful check |
|---|---|
| Visitors see Coming soon | Review Site visibility and any separate maintenance setting |
| Product cannot be purchased | Check publishing status, price, stock and variation configuration |
| No shipping option appears | Check address eligibility, matching zone and its enabled methods |
| A payment method is missing | Check connection, mode, customer eligibility and block compatibility |
| Order email is missing | Check notification settings, order status and mail delivery logs |
| Checkout spins endlessly | Inspect existing order/payment records, then troubleshoot the failure |
Avoid changing several plugins at once. Make a backup, reproduce the issue on staging and record one change at a time. If order management itself becomes slow, my guide to a slow WooCommerce admin explains how to narrow down the cause.
What to do after your store launches
During the first week, check orders, stock, payments and customer messages daily. Record the questions customers ask; they often reveal missing delivery information or unclear product descriptions.
Schedule backups and review updates regularly. Test significant theme, plugin and checkout changes on staging before applying them to the live store. Once orders exist, avoid overwriting the production database with an old staging copy, which can remove new transaction records.
Add extensions only when they solve a defined problem. My WooCommerce guides cover the next stages of store management. For customer acquisition, my online marketing guides explain how to connect your website with suitable marketing channels.
I am the CEO of Leelija, which provides web development and digital marketing services. If you need implementation help, ask for a scope that includes checkout testing, maintenance and handover—not just the homepage design.
Frequently asked questions
Yes. A basic store can be configured through WordPress, WooCommerce settings and a suitable theme. Complex integrations or unusual workflows may need an extension or developer. You still need to learn product, payment and order management.
It depends on how ready your products, images, policies and payment account are. A small demonstration can be built quickly; a business launch also requires verification, testing and fulfillment preparation. I would set a completion checklist rather than promise a fixed number of hours.
Yes. Back up the site and test the installation on staging first. Confirm that the theme and existing extensions work with the new store pages and checkout before changing the public site.
No. Neither is an automatic requirement for a basic store. Choose a maintained theme that supports the features you need, then pay for additional design tools only when they solve a specific limitation.
Yes. Configure each product correctly and test mixed carts. A downloadable item and a shipped item have different delivery needs, and the order should reflect those differences.
Possible causes include a disabled gateway, an incomplete connection, unsupported customer details or incompatibility with the checkout implementation. Check the provider’s documentation and logs rather than installing several replacement gateways at once.
Create one product and follow it through the whole order process. Then add a variation, test delivery changes and practice handling an order. This gives the settings a practical purpose and makes the next feature easier to understand.